Tube Checkerô -
Automated Tube Dimensional Measurement
The TubeCheckerô system is designed for inline inspection
of tubing products. If your organization manufactures tubing for the
automotive industry you should be familiar with this product. It is
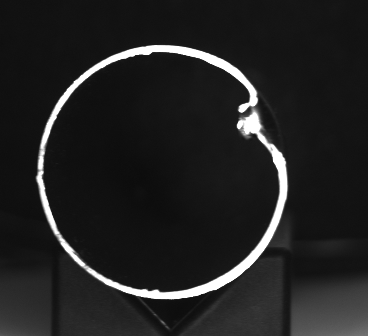
designed for high speed inspection of tube ends. The system will identify damaged tubes that have been
dented, misshaped, out-of-round, or with distorted ends. The system can
also identify tubes with burrs or material projections either internal or
external to normal tube diameter. The TubeCheckerô system automatically
adjust to tube diameters and no setup is required after the initial system
installation. As an option the customer may specify the acceptable tube
diameter range and the system will isolate any product that is outside the
tolerance.
ēThe
system will use a single LED Ring Light for each sensor
(typically one sensor is used for each tube end).
ēThe
sensor should be placed co-axial to the tube if possible.
ēEach
sensor should have a trigger to signal image acquisition
and automatic program execution.
ēA
separate output signal will be provided in the tube is found to contain a
deformation.
ēThe
inspection system should be able to function with a cycle time of less than
500 milliseconds (2.0 parts per second).
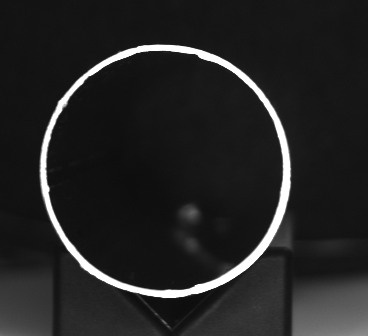
Good Tube
without deformations:
ēA
measurement of the tube ID from the tube center indicates little deviation
from mean.ēTube
outer diameter and inner diameter follow the same radial
pattern.
ēRadial
Deviation is minimal.

A generally "Good" tube shape, with slight variation in
Wall Thickness.
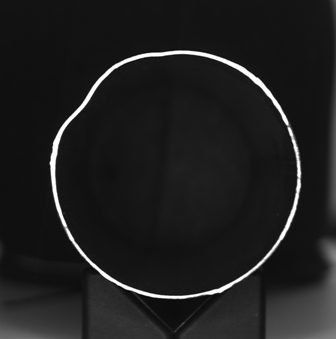
Slightly Out-of-Round Tube:
ēTube
is not symmetric in shape as indicated by wavy curve.
ēTube
outer diameter and inner diameter follow the same radial
pattern.
ēRadial
Deviation approximately Ī7.
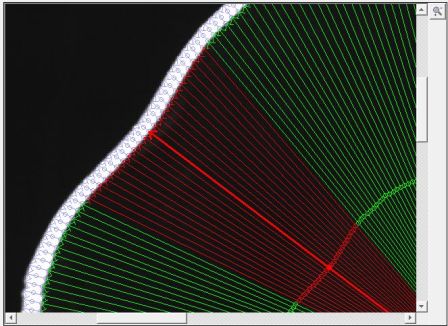
Dented Tube:
ēTube
is not symmetric in shape as indicated by large dip in curve.
ēTube
outer diameter and inner diameter follow the same radial
pattern.
ēRadial
Deviation approximately +8.5 / -20.


Large deformation on tube wall.
The Wall Thickness is consistent, but diameters are not!

The consistent wall thickness (difference between OD and
ID) show a large change in the Radial Dimension.
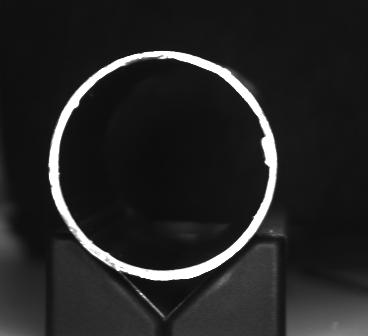
Large Burr Inside Tube:
ēTube
has deformation as indicated by large dip in curve.
ēTube
outer diameter is larger than corresponding inner diameter
in radial pattern.
ēRadial
Deviation approximately +4 / -17.5.

Large Burr inside tube

Burr is represented by a change in the Wall Thickness.
Large Slug Deforms Tube:
ēTube
has deformation as indicated by large dip in curve.
ēTube
outer diameter and inner diameter follow similar
radial pattern.
ēRadial
Deviation greater than -20.

A large pierced hole in tube wall was formed by a slug.

The is represented by a large change in the Radial
Measurement of both OD and ID.
Tube Checkerô
- Tube End Shape Analyzer:
(ta-2m INTELLIGENT SENSOR System)
ēThe
TubeCheckerô
product is offered in several different configurations to meet specific
project requirements.
ēThe
system can be configured with one or two sensors (more if required).
The two sensor solution examines both ends of the tube by acquiring
simultaneous images. Image acquisition is normally very fast, 1-2
milliseconds using a special illumination source axial to sensor.
ēCurrently
the sensors can be ordered in 1.3, 2.0 or
5.0 Megapixel high resolution
for critical tube dimensions.
ēThe
sensors have Gig-E interface and we can link up to 128 modules together!
 Basic
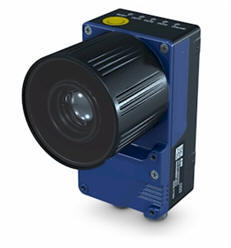
Tube Checkerô Sensor Basic
Tube Checkerô Sensor
Shown in stand-alone configuration in which
the processor is built into the sensor housing.
Tube Checkerô
- Tube End Shape Analyzer:
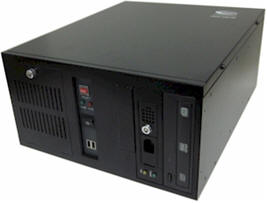
(tm-5M MultiCORE System)
ēThe
TubeCheckerô
product is offered in multi-core processor configurations to meet specific
project requirements that require Windows 7
or Windows 10 Pro OS and dedicated interface.
ēThe
system can be configured with one, two or more sensors .
The system uses the latest Intel i7 chipset with SSD drives to maximize
field uptime. The Multicore systems are designed to operate with two
sensors per line and the system can easily handle multiple lines. This
method represents the most cost effective solution when service of multiple
line is a requirement.
ēCurrently
the sensors can be ordered in 1.3, 2 or 5 Megapixel resolutions.
ēThe
system can use up to 4 Gig-E sensors.


TubeCheckerô for multiple sensor applications with
IVS-40 or IVS-80 processor.
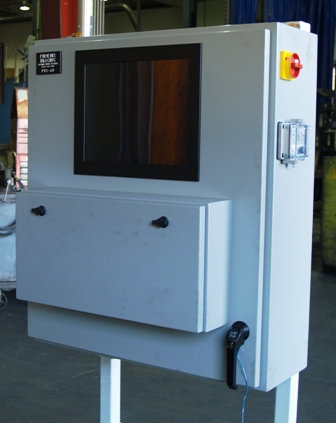
PVS-80 Image Processing Unit (Shown in Machine Grey with
Keyboard Drawer)
| 


